Learn how to view vessel details, edit vessel information, move a vessel to a new location, and print vessel labels.
Before You Start
Make sure you have:
- Access to the Tissue Culture module
- At least one vessel in the system
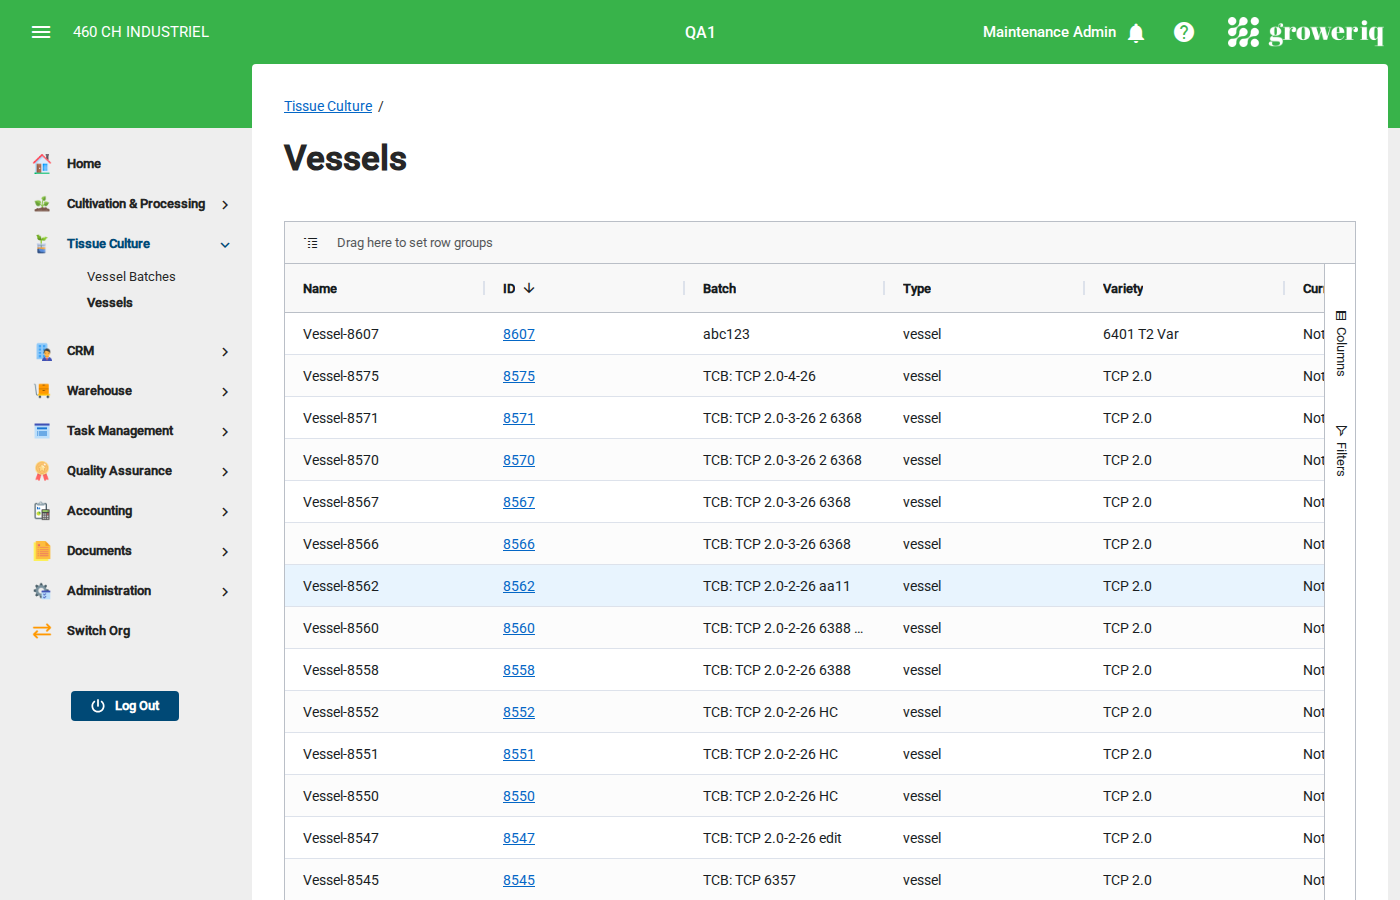
Step 1: Navigate to Vessels
From the main menu, click Tissue Culture then Vessels.
The vessels list shows all individual vessels with their plant count, stage, health indicator, variety, and location.
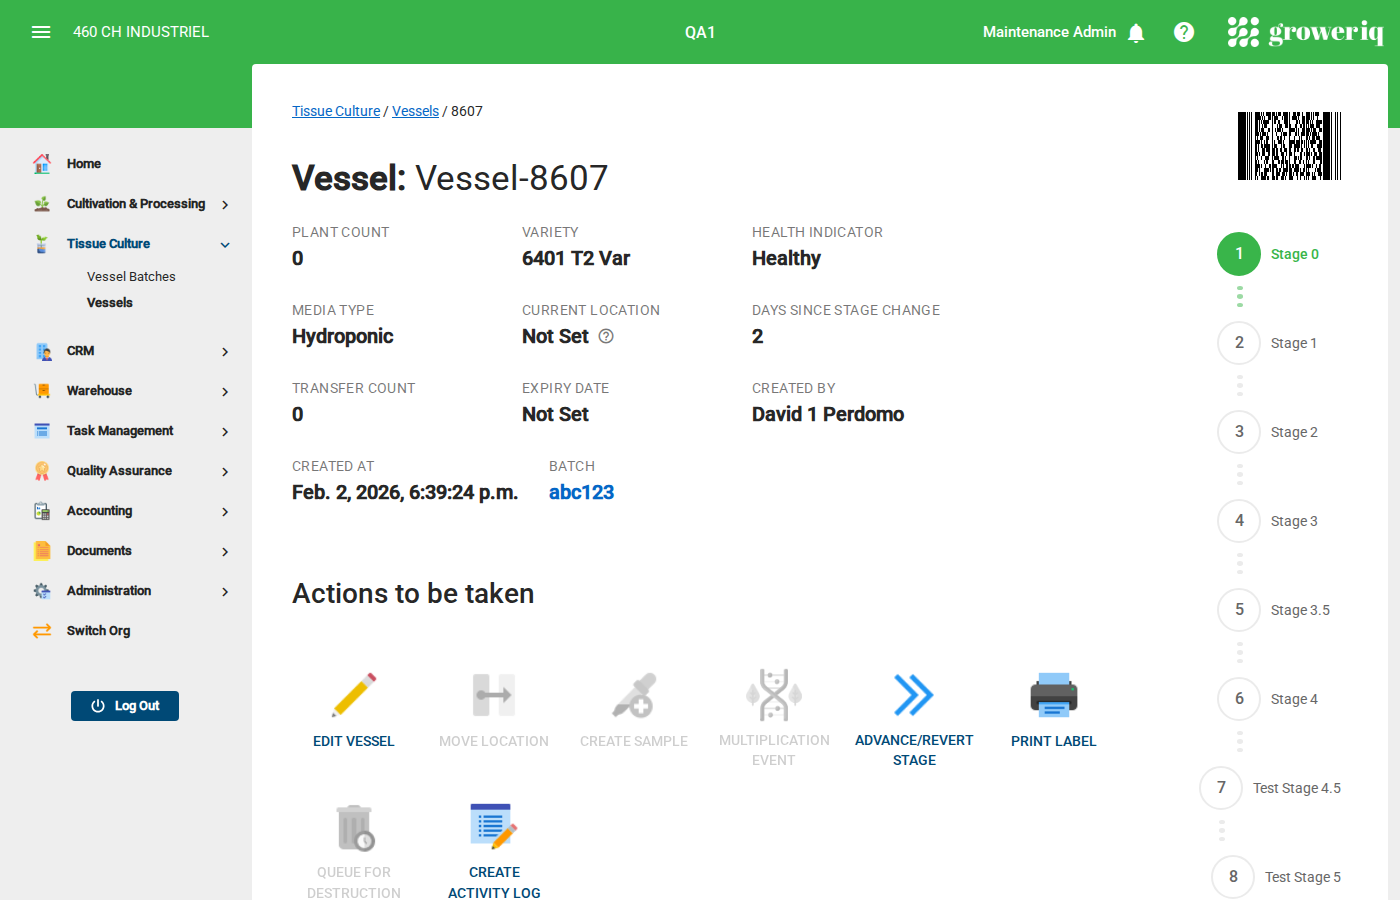
Step 2: Open a Vessel
Click on a vessel name in the list to view its details.
The vessel detail page shows:
- Plant Count - Number of plants in this vessel
- Variety - The plant variety
- Health Indicator - Current health status
- Media Type - Growth media being used
- Current Location - Where the vessel is stored
- Stage Chart - Visual progress through tissue culture stages
- Batch - Link to the batch this vessel belongs to
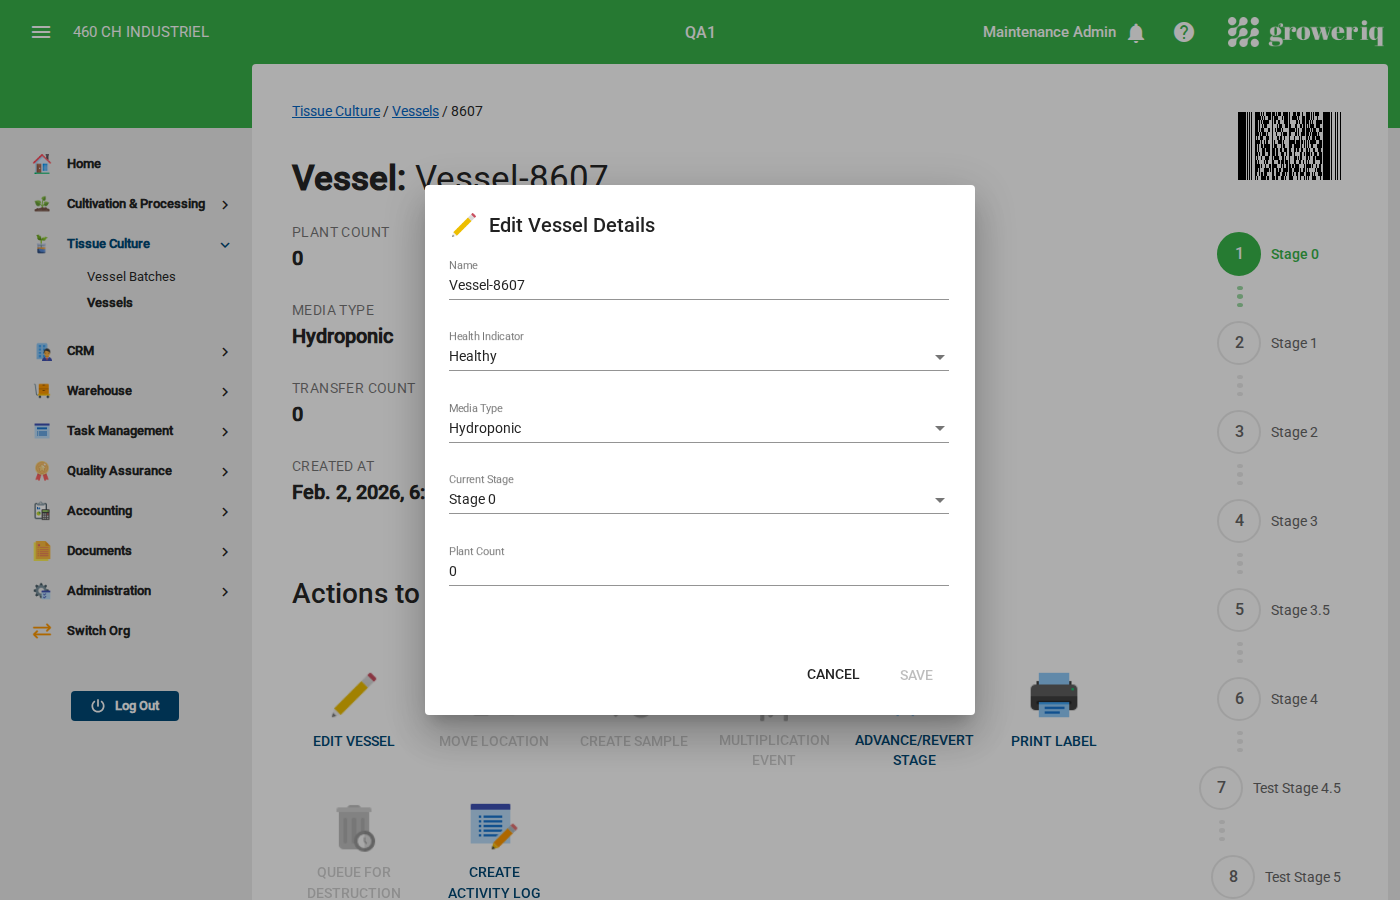
Step 3: Edit Vessel Information
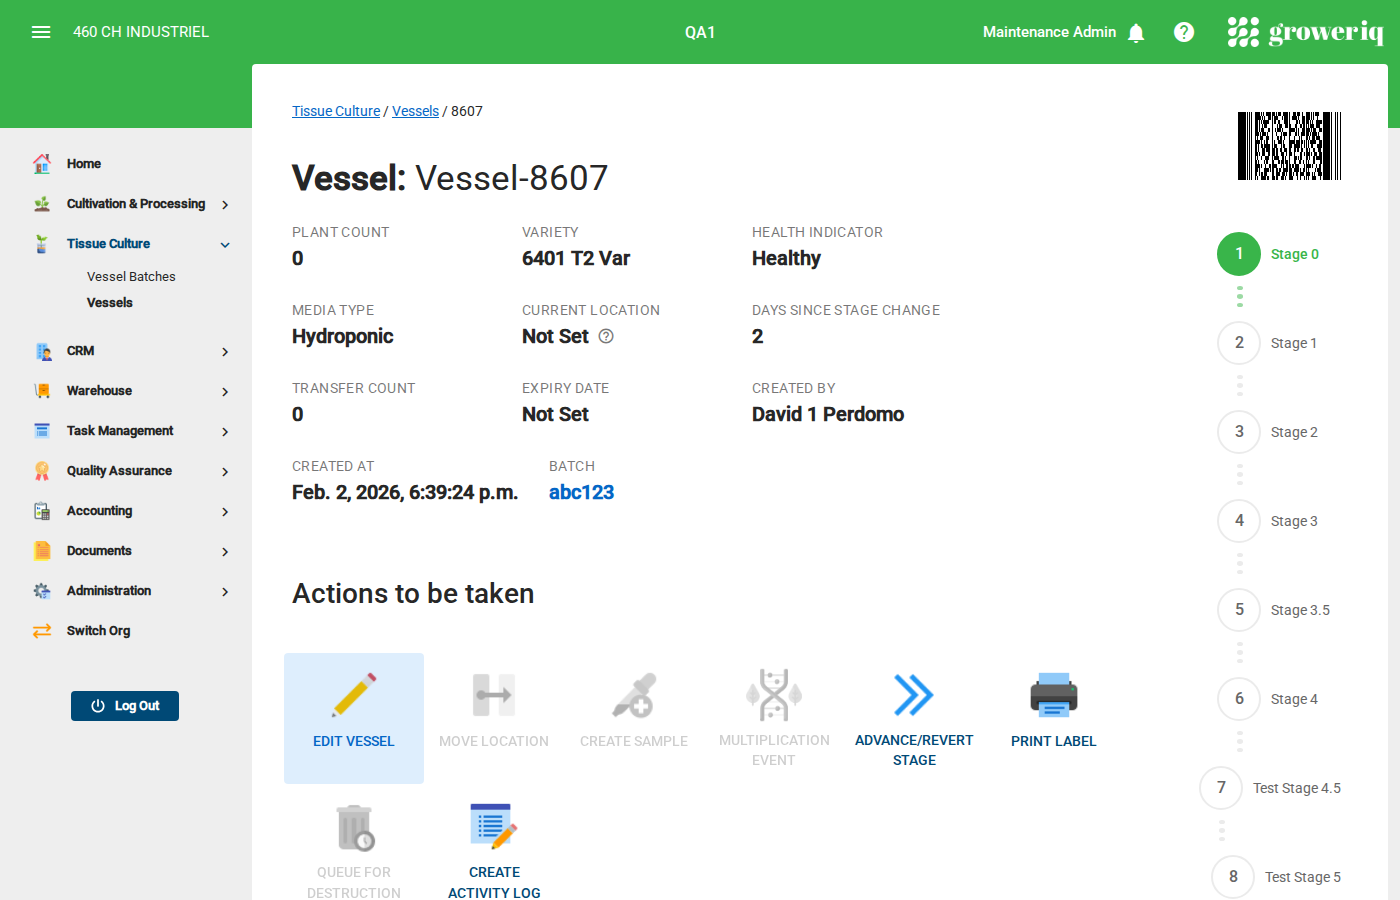
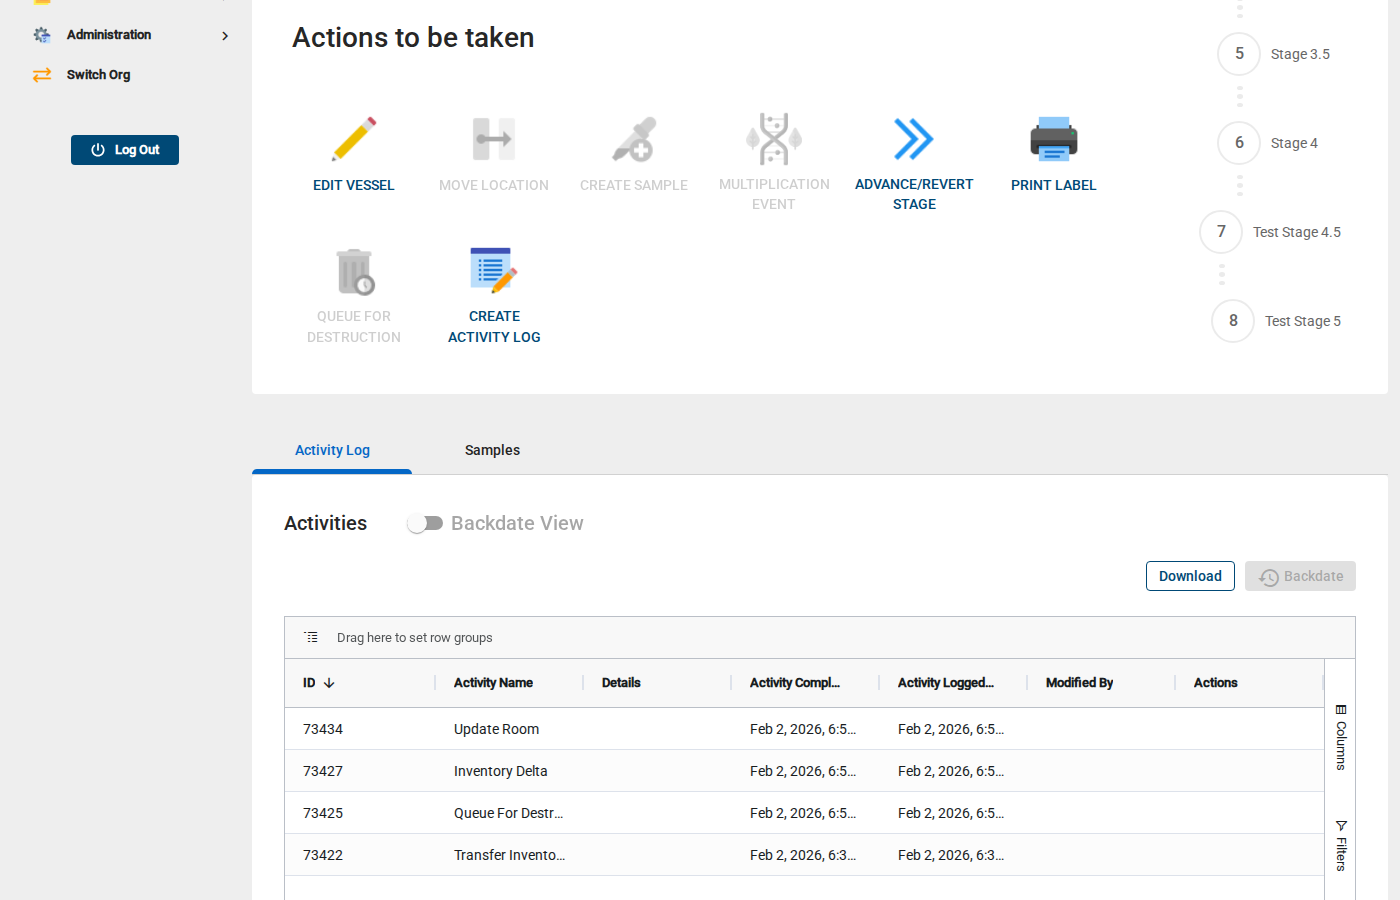
Click the Edit Vessel button in the Actions section.
In the dialog, you can update:
- Name - Change the display name for the vessel
- Health Indicator - Select the current health status from the dropdown
- Media Type - Select the growth media from the dropdown
- Current Stage - Change the vessel's cultivation stage from the dropdown
- Plant Count - Update the number of plants in the vessel
Click Save when finished, or Cancel to discard changes.
Step 4: Move the Vessel to a New Location
To change where a vessel is stored, click the Move Location button in the Actions section.
Note
The Move Location button is only active when the vessel has plants (plant count greater than 0).
In the dialog:
- Select the new Building
- Select the Room within that building
- Optionally select a specific Shelf or Position
Click Move to confirm the location change. The vessel's Current Location will update on the detail page.
Step 5: Print a Vessel Label
To print a barcode label for a vessel, click the Print Label button in the Actions section.
The system will generate a printable label containing the vessel's barcode and identifying information. Use your browser's print dialog to send the label to a connected label printer or save it as a PDF.
Step 6: View the Activity Log
Click the Activity Log tab below the vessel properties.
The activity log shows a history of all events for this vessel, including:
- Stage changes
- Multiplication events
- Location moves
- Edits and updates
You're Done!
You now know how to view and manage individual vessels in GrowerIQ.
Next steps:
- Record a multiplication event to create new vessels
- Advance or revert the vessel's stage
- Create a sample from this vessel
- Queue unused vessels for destruction
Need Help?
If you run into issues, contact support at support@groweriq.ca